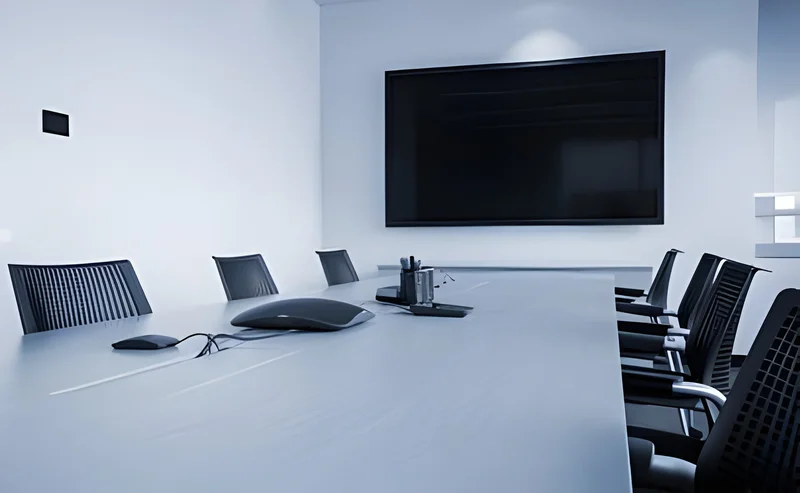
Creating a well-equipped conference room is no longer a luxury—it’s a necessity for businesses aiming for effective communication, collaboration, and presentations. Whether you’re setting up a new office or upgrading an existing space, installing AV equipment correctly is crucial for maximizing performance and minimizing technical glitches.
In this comprehensive guide, we walk you through each step of installing AV systems in a corporate conference room, ensuring seamless communication for meetings, webinars, hybrid work setups, and more.
Step 1: Assess the Room Requirements
Every conference room is unique. Start by understanding:
- Room size and layout
- Seating capacity
- Primary usage (internal meetings, client calls, training sessions, hybrid meetings)
- Lighting and acoustics
- Existing infrastructure (power outlets, network ports, mounts)
Pro tip: For hybrid meetings, ensure the room has strong internet connectivity and controlled ambient noise.
Step 2: Plan the AV System Components
Based on your room assessment, outline the essential AV components:
Core AV Equipment:
- Video Conferencing Camera – High-definition with wide-angle and auto-framing features.
- Microphones – Boundary or ceiling mics for large rooms; tabletop mics for smaller setups.
- Speakers – Wall-mounted or ceiling-integrated for even audio distribution.
- Display Screen or Projector – Large LED screen or projector with retractable screen based on room size.
- Interactive Whiteboard or Touch Panel – For presentations, annotations, and collaboration.
- Wireless Presentation System – Allows cable-free screen sharing from laptops or phones.
- Control Panel – Centralized system to manage all AV equipment from one touch screen.
Step 3: Design the AV Layout
Now that you’ve selected the components, map out:
- Where each device will be installed
- Optimal microphone and speaker positioning
- Cable management strategy
- Mounting locations for cameras and displays
Ensure visibility and accessibility are prioritized, and all participants are within microphone and camera range.
Step 4: Install Power & Network Connections
Reliable power supply and Ethernet connections are the foundation of any AV setup. Ensure:
- Sufficient electrical outlets (including surge protection)
- Dedicated network lines for AV devices
- Backup power for critical components (UPS)
Wi-Fi is great, but for critical AV equipment like video conferencing systems, wired connections are more stable.
Step 5: Mount & Connect AV Hardware
Begin the physical installation:
- Mount displays or projectors securely.
- Install ceiling or wall-mounted microphones and speakers.
- Set up the camera at eye-level or above screen height.
- Connect control panels and presentation systems.
- Route and conceal all cables using trunking or floor boxes.
Neat and well-organized cabling improves aesthetics and reduces the risk of damage.
Step 6: Configure and Calibrate the System
After installation, configure the system:
- Adjust camera angles and zoom
- Calibrate microphone pickup zones
- Set audio levels for speakers and echo cancellation
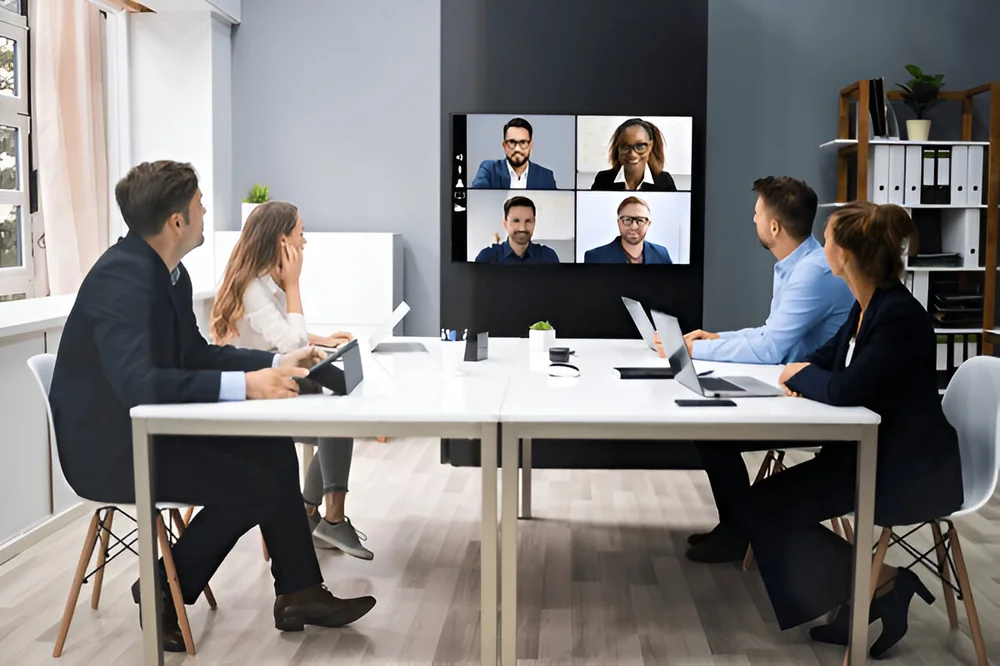
- Sync the AV system with your preferred platform (Zoom, Microsoft Teams, Google Meet, etc.)
- Program control systems for easy one-touch access
Use test calls and trial runs to fine-tune settings for optimal video and audio quality.
Step 7: Train the Users
Provide a quick user training session for your team:
- How to start a meeting
- Switching between devices or inputs
- Using wireless presentation tools
- Basic troubleshooting (e.g., no audio, camera not detected)
Keep a quick-start guide in the room or near the control panel.
Step 8: Schedule Maintenance & Support
Even the best AV systems require periodic maintenance:
- Clean microphones, speakers, and screens
- Check cables and connectors
- Update firmware and software
- Test network speed and audio-video sync
Partnering with a reliable AV support provider ensures consistent performance and faster issue resolution.
Final Thoughts
Installing AV equipment in a conference room isn’t just about plugging in a few devices—it’s about creating a smart, efficient environment that enhances productivity and collaboration.
At ScreenTechnics, we specialize in end-to-end AV integration, from planning and installation to maintenance and support. Whether you’re outfitting a small meeting room or a large boardroom, our custom AV solutions ensure your communication tools work flawlessly—every time.
📞 Need Help Setting Up Your Conference Room?
Connect with our experts at ScreenTechnics to get a tailored AV setup designed for your business.